The SharePoint brand center offers a centralized branding management application that empowers your brand managers or designated brand owners to help your organization to customize the look and feel of their experiences. This brand asset management system allows customers to manage the colors, fonts, and images, and other assets all in one place.
Developers can use the fonts defined in Brand center in their SharePoint Framework (SPFx) components. This article demonstrates how you can use the fonts defined in the SharePoint brand center in your SPFx components.
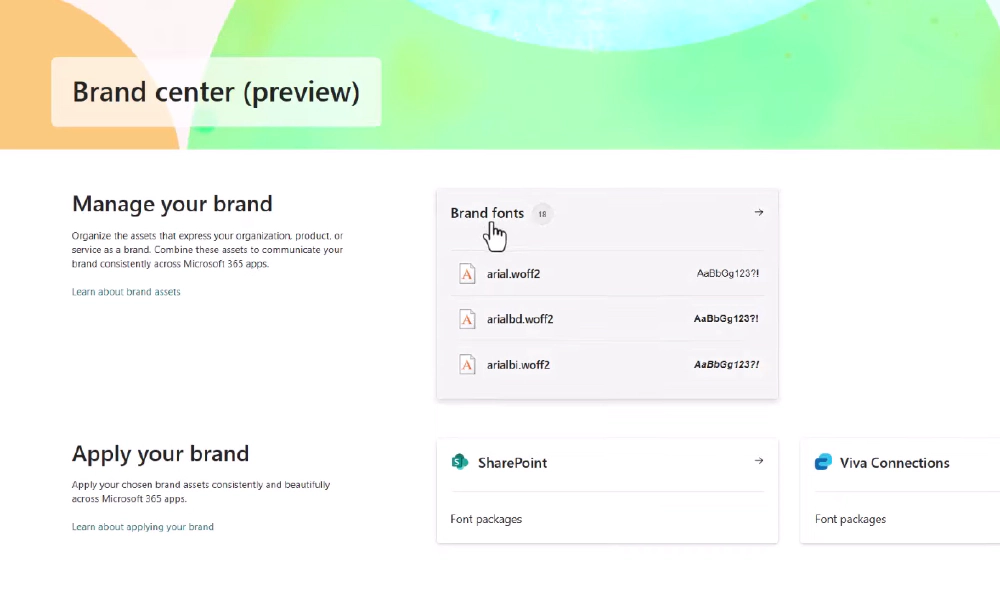
SharePoint brand center
Use SharePoint brand center fonts in SPFx components
SharePoint’s brand center enables users to select different fonts for different parts of the SharePoint UX. These are referred to as font slots. In your custom SPFx solutions, you’ll refer to the slots using font tokens.
Let’s see how to do this:
Let’s assume you already have a SPFx web part project. All CSS styles are stored in the SCSS module file in the same folder as your web part, such as ./src/webparts/helloWorld/HelloWorldWebPart.module.scss.
To use one of the fonts defined in SharePoint brand center, set the font-family style on the desired CSS classes in your component using the font tokens. The tokens are available as variables in your SPFx component with the --fontFamily prefix.
For example, to use the CustomFont100 font token, update your web part’s class to the following:
  .helloWorld {
++  font-family: var(--fontFamilyCustomFont100, var(--fontFamilyBase));
    overflow: hidden;
    padding: 1em;
    color: "[theme:bodyText, default: #323130]";
    color: var(--bodyText);
    &.teams {
      font-family: $ms-font-family-fallbacks;
    }
  }
This tells the SPFx runtime to set the font-family style to the variable --fontFamilyCustomFont100, but if that value isn’t set, it will default to the --fontFamilyBase slot.
Learn More About All Available Font Slots & Tokens
To learn more what font slots and tokens are available, see: Use SharePoint brand center fonts in SharePoint Framework solutions.
Test your custom fonts
Unfortunately the SharePoint hosted workbench does not support custom fonts defined in the SharePoint brand center. To test your web parts, you’ll need to test them on a page in a SharePoint site.
Start by running the command gulp serve from the root of the project and include the –nobrowser argument:
gulp serve --nobrowserIn the console, the gulp serve command will output a line that looks similar to the following:
[spfx-serve] To load your scripts, use this query string:
     ?debug=true&noredir=true#debugManifestsFile=https://localhost:4321/temp/manifests.js
Open the browser and navigate to a page that you have permission to add a web part to the page.
Add the query string from the preceding console message to the URL and load the page.
When prompted in the Allow debug scripts dialog, select Load debug scripts.
Next, put the page into edit mode and add your sample web part to the page.
Finally, publish the changes.
With the web part on the page, select one of the custom fonts from the Brand center site:
Select the gear icon in the top right of the Microsoft 365 suite bar, then select Change the look.
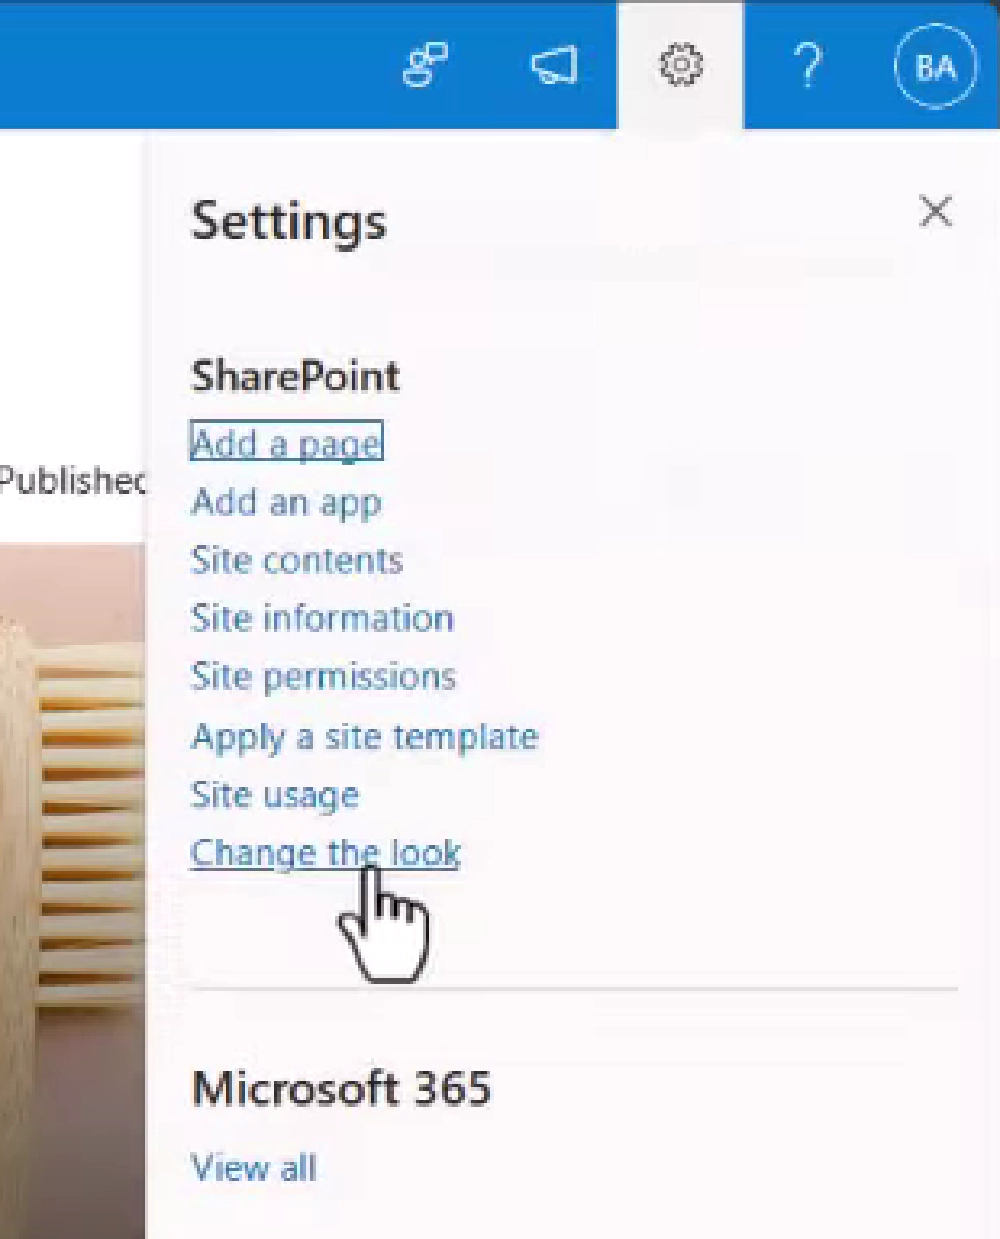
SharePoint settings menu
On the Change the look panel, select Font.
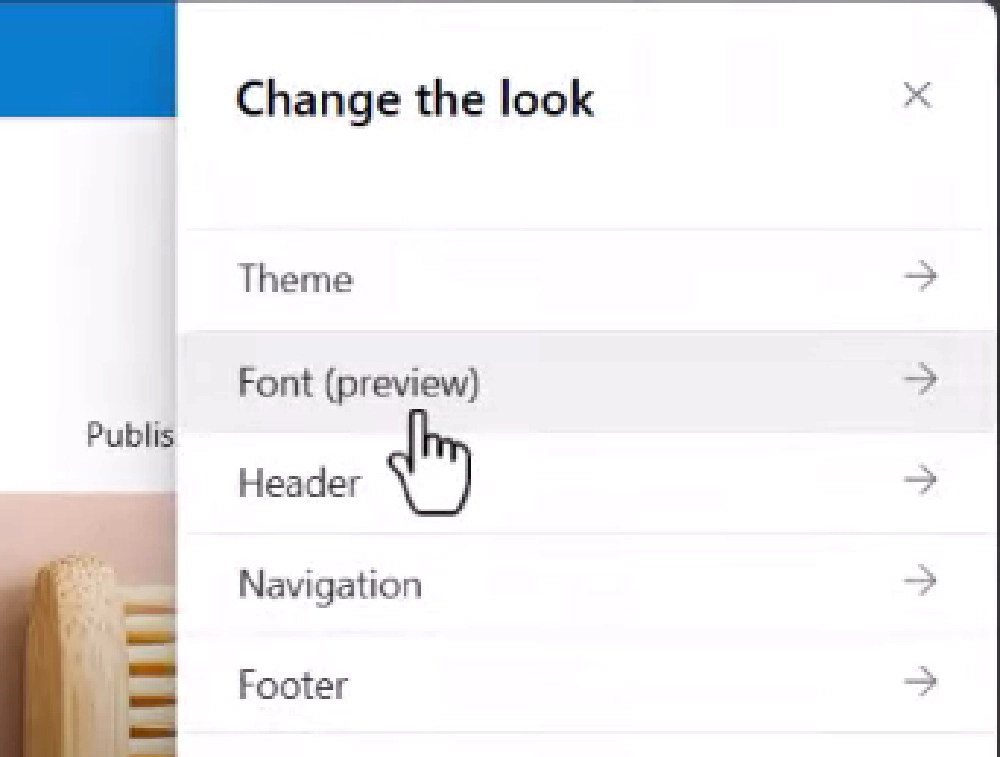
SharePoint setting Change the look panel
On the Font panel, select one of the fonts to view the changes on your web part.
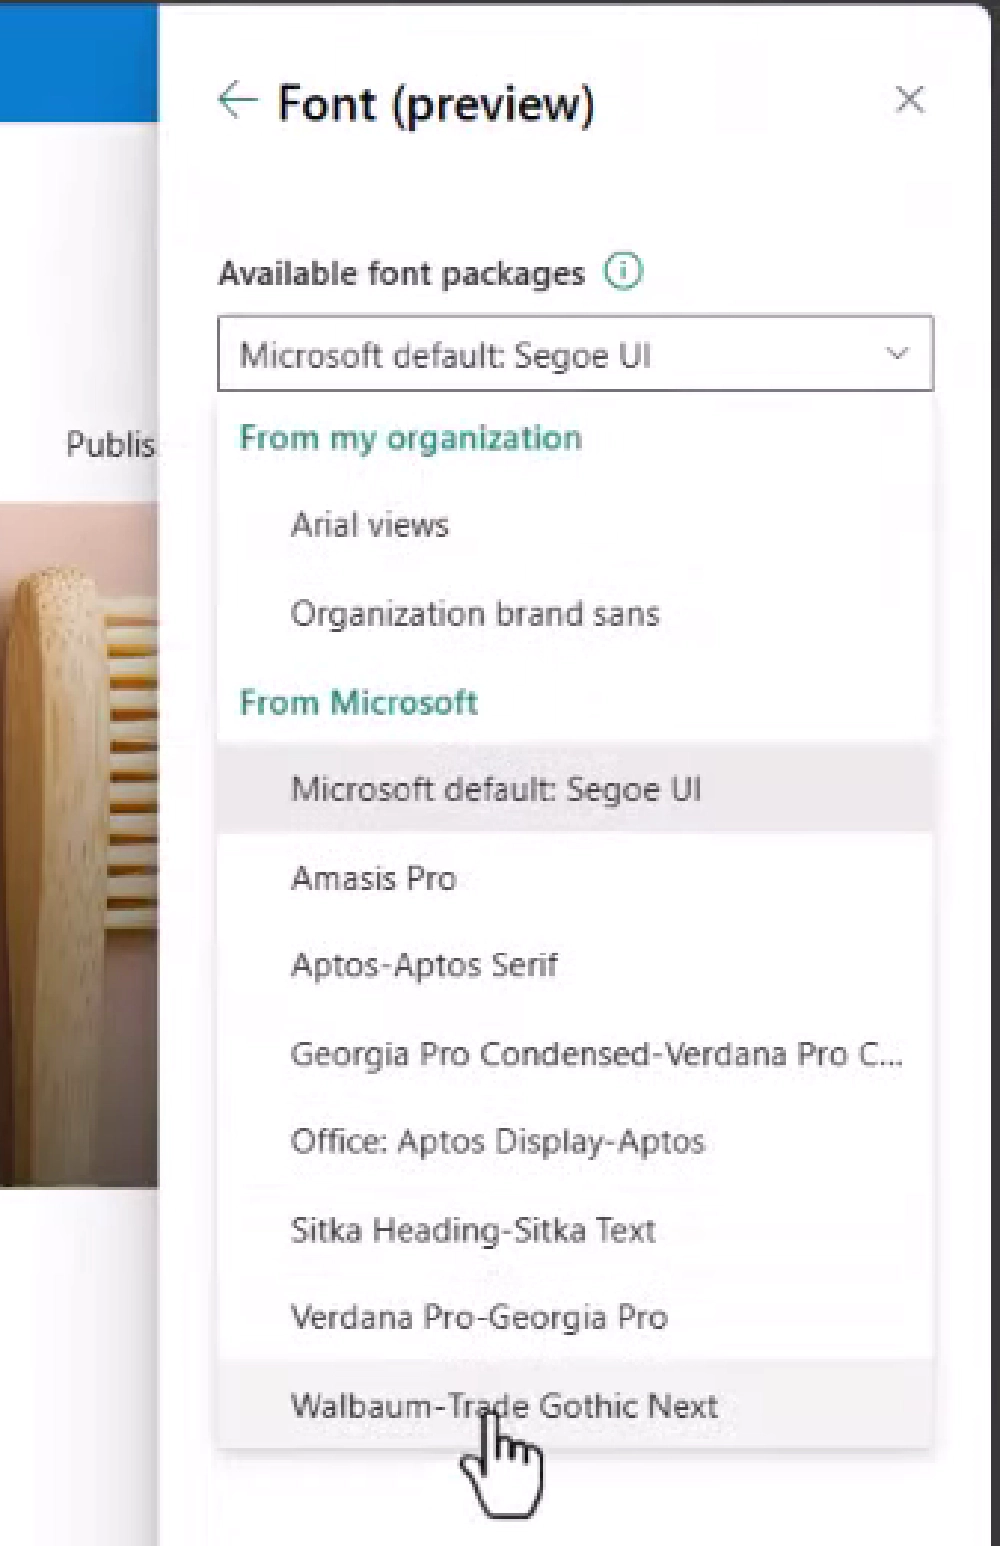
SharePoint setting Font panel
Notice the fonts on the page will change, including those in our custom web part:
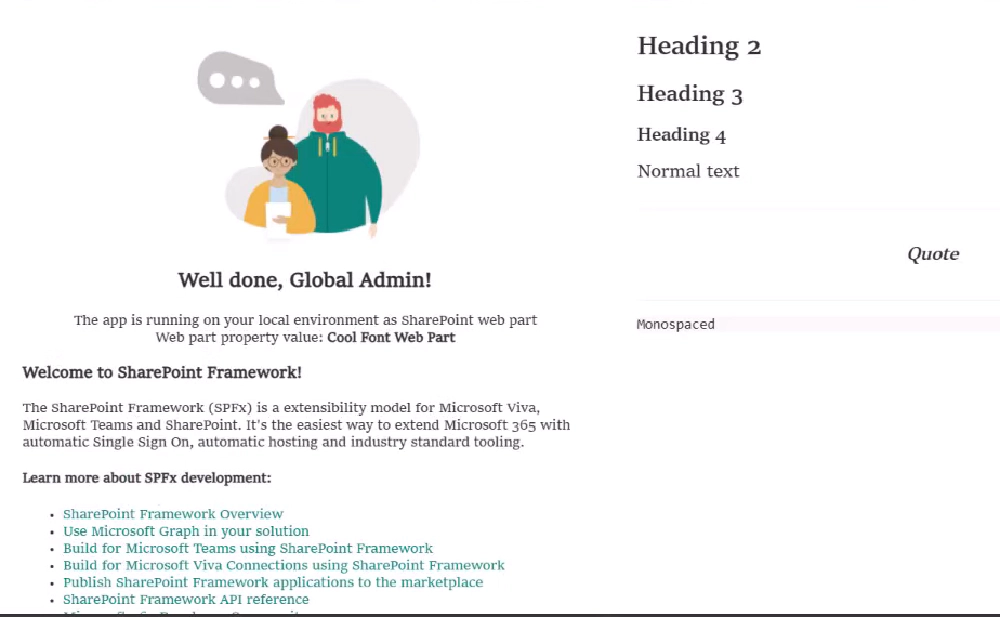
Custom font selected from Brand central used in the SPFx web part
Now you can use the custom fonts, defined in the recently released SharePoint brand center, in your SharePoint Framework components!

Microsoft MVP, Full-Stack Developer & Chief Course Artisan - Voitanos LLC.
Andrew Connell is a full stack developer who focuses on Microsoft Azure & Microsoft 365. He’s a 20+ year recipient of Microsoft’s MVP award and has helped thousands of developers through the various courses he’s authored & taught. Whether it’s an introduction to the entire ecosystem, or a deep dive into a specific software, his resources, tools, and support help web developers become experts in the Microsoft 365 ecosystem, so they can become irreplaceable in their organization.


