Before I dive too deep here I should provide a little background. With all previous versions of SharePoint, specifically SharePoint 2007 & 2010, I never looked forward to working with workflows. Building them in SharePoint Designer wasn’t so bad, but with Visual Studio, man that was a pain. And then when you introduced forms into them… yikes. I recall teaching SharePoint 2007 and showing how to use InfoPath forms. Whenever something didn’t go just right, you wished the Mayan’s had picked that day as the last day.
In SharePoint 2013 all that changed. Microsoft made some fundamental changes around workflow in terms of how it is architected and how SharePoint leverages it. I’ve already discussed it here on my blog if you want to read up. In this post I want to show you how easy it is to introduce forms to your workflow, specifically with Visual Studio. There are a few things you’ll need to manually wire up. Hopefully we’ll see these things get a bit more automated for us in the RTM release of the tools for Visual Studio in early 2013. I’m writing this post because I got frustrated with the lack of information on MSDN on this subject. In fact, when you click on the link for working with forms it takes you to the SharePoint 2010 documentation which is totally irrelevant now.
Let’s assume you’ve already created your workflow. Let’s say you want to add an initiation form. First, the best news is that InfoPath forms are no longer recommended… you should instead use ASP.NET pages & have your pages communicate with the workflow engine via the client side object model (CSOM) improvements. This is great because it works in a SharePoint hosted app as no managed code is required!
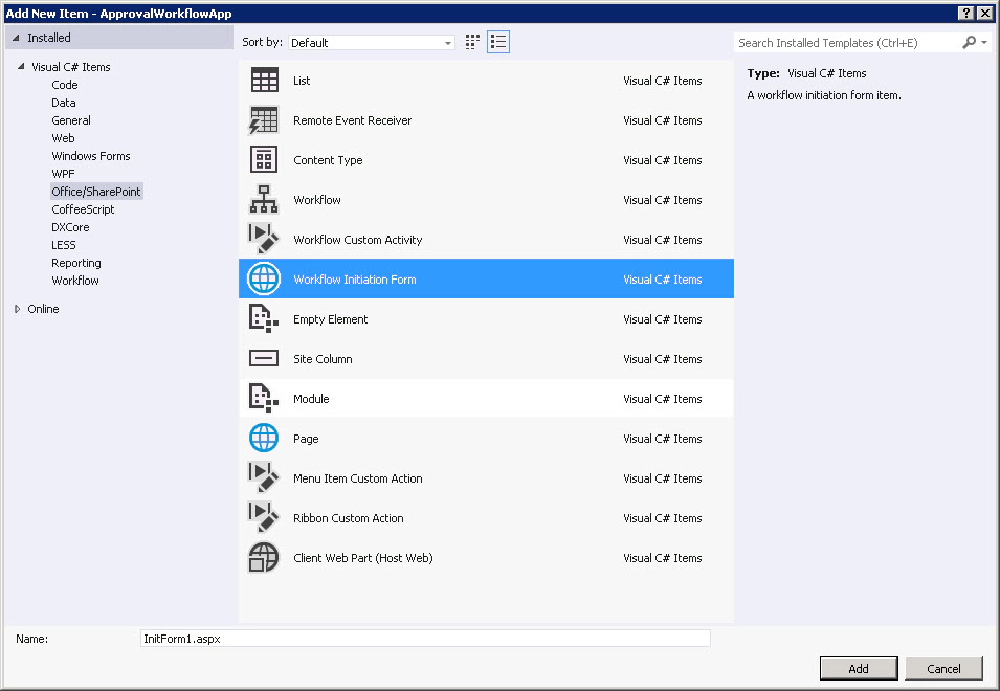
Right-click the workflow project item and add a new item, picking Workflow Initiation From from the list of options.

Workflow Initiation Form
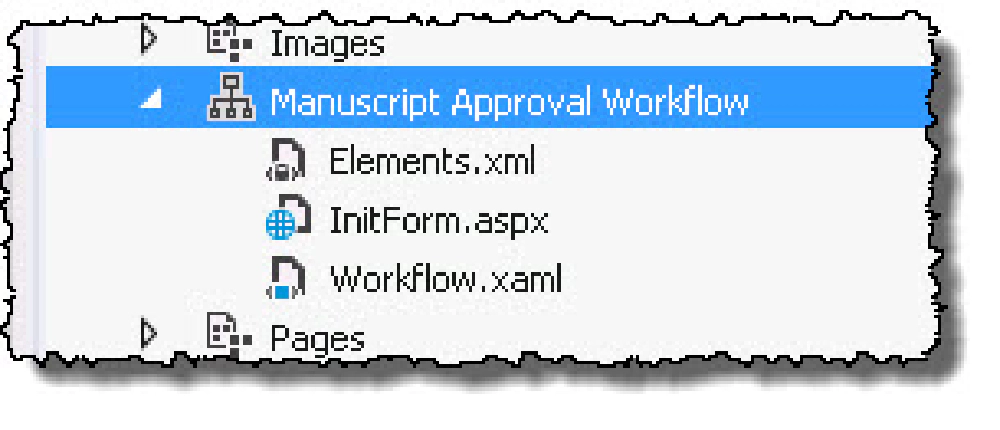
This adds a new *.aspx page to your workflow project item, which does have some sample code in it, but that’s just about it.

New Workflow with Form
You’re left to figure the rest out and unfortunately MSDN is pretty sparse on details (and now you see the point of this post). There are a few things you’ll need to do to use your form:
- Wire your workflow up to the initiation form
- Modify the form, both for the UI & for passing data to the workflow
- Modify the workflow to accept inbound form data
Let’s walk though each of these steps in more detail…
Wire Your Workflow Up to the Initiation Form
While you have created the form, you need to tell the workflow where it is. Open the Elements.xml file within the workflow project item. This contains a SharePoint Module that provisions two files (1) the workflow & (2) the association (it also includes creation of the wfsvc list where all workflows are stored). You’ll find two sections commented out in the workflow provisioning with the names InitationUrl & AssociationUrl (while I’m only covering the initiation form, you can see it’s easy to implement the association form too). Uncomment the InitationUrl property element and make sure it’s pointing to the correct file (it should be by default). Now when the workflow starts, it will redirect the user to this page.

Set the workflow's InitiationUrl property
Modify the Form: User Experience & Passing Data to the Workflow
Next up you need to tweak your form. By default, Microsoft make this easy as they stub out a commented out HTML form with the necessary JavaScript to use the Workflow CSOM to submit the data. The only thing I want to call out is the part in the JavaScript function startWorkflow() right after the line params = new Object();. You need to make sure you collect all your form values and add it to this params array as the stubbed out JavaScript will pass this array to the workflow.
Modify the Workflow to Accept Inbound Form Data
Finally you want to use the data within you workflow. Open the workflow in the designer and find the Arguments tab at the bottom of the design surface. What you want to do here is add in the names of the parameters in the array you’re passing in and set their argument type (aka: data type) and their direction (in this case, In).

Change the workflow argument
Now you use the arguments like any other variable within your workflow except keep in mind you can’t edit them. If you want to make changes, use an Assign activity to copy it to variable.

Microsoft MVP, Full-Stack Developer & Chief Course Artisan - Voitanos LLC.
Andrew Connell is a full stack developer who focuses on Microsoft Azure & Microsoft 365. He’s a 20+ year recipient of Microsoft’s MVP award and has helped thousands of developers through the various courses he’s authored & taught. Whether it’s an introduction to the entire ecosystem, or a deep dive into a specific software, his resources, tools, and support help web developers become experts in the Microsoft 365 ecosystem, so they can become irreplaceable in their organization.


