This post is one of three posts in a short series. The first post, Microsoft Entra ID & Office 365 APIs - Creating an Microsoft Entra ID App with a Wizard & Manually is a brief overview. The second post, Creating Microsoft Entra ID Apps for Office 365 Using the Visual Studio 2013 Wizard, is creating an Azure app using a wizard in Visual Studio 2013. The third post, (this one), shows how to create the Microsoft Entra ID App manually.
Let’s do this same thing that the wizard just did, but do it manually. This helps as you get an understanding how all this stuff works so you can replicate it between environments. To start, sign in to your Azure tenant’s admin page using the Azure Management Portal.
In the left-hand navigation find the Active Directory entry then click Applications in the top navigation.
At the bottom of the page you’ll see a New button… click that. Now you’ll run through a little web-based wizard.
On the What do you want to do page, click Add an application my organization is developing.
Next, set the name of the app to anything you like. This is the same thing that was listed in the App Properties dialog in the VS2013 Connected Service wizard that I showed in the last post. The click the Web Application and/or Web API option & move onto the next step. The other option is for things like desktop or mobile apps.
Now, on the App Properties page specify the URL where the users will be redirected to after logging in. For instance, if you are developing you site locally it would be something like https://localhost:12345. This is the URL that was listed in the App Properties dialog in the VS2013 Connected Service wizard that
I showed in the last post.
Next up you need to set the App ID Uri. This is a unique & fully qualified URL on an Azure verified domain. What’s that you ask? A verified domain is one that Azure has verified that you own. You can see a little walkthrough on the Azure website to see how this works: Configuring a custom domain name for an Azure Website. Since we’re doing this for Office 365, we can just use the tenant name of our O365 tenant so for me it would be something like https://aconn.onmicrosoft.com/AppName. You just need to make sure it’s (1) a domain you own and (2) unique. I’d recommend putting the name of your app on the end of it.
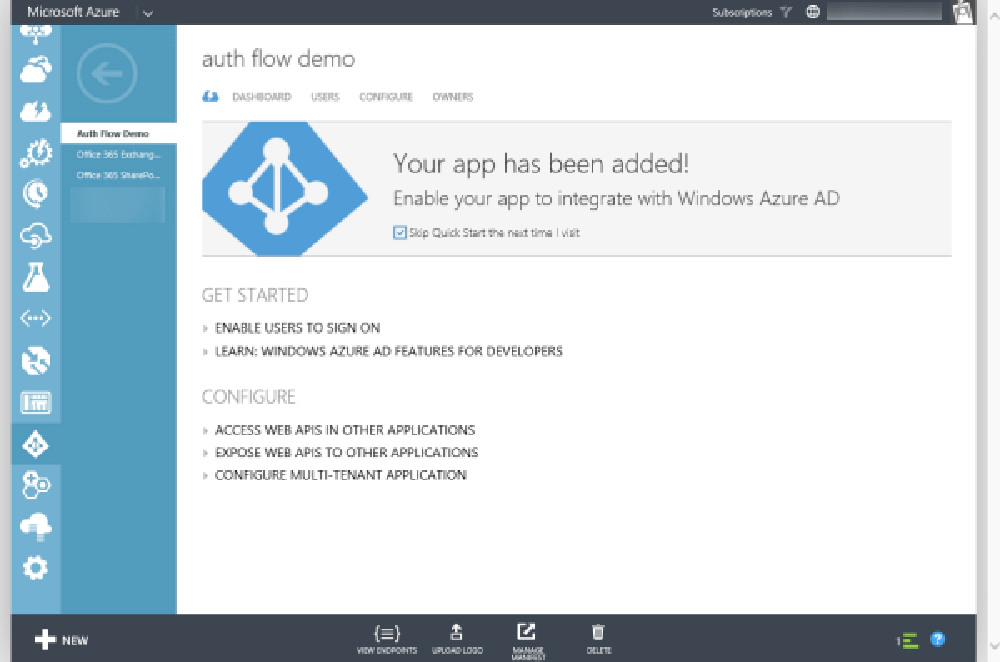
Now click the check in the bottom of the wizard to create the app… but you aren’t finished yet!
Microsoft Entra ID Authentication
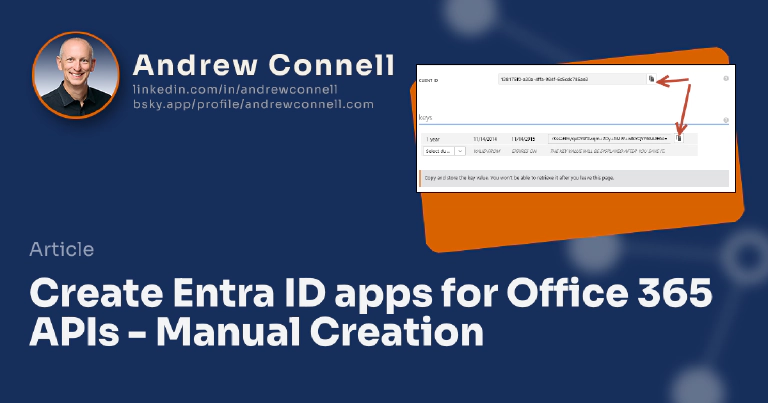
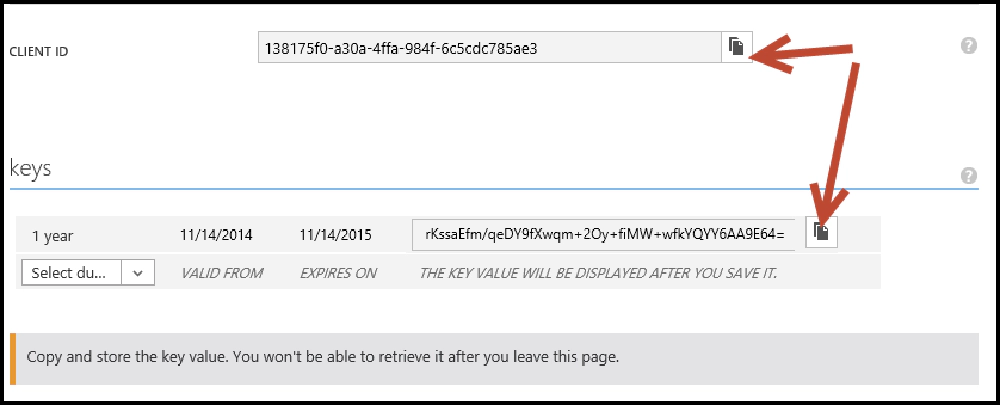
Once the app has been created, click the Configure link in the top-navigation. Here you can create a special icon for your app & perform other management of the settings. Find and copy the Client ID … you’ll need this. I’d recommend putting this in a app setting named ida:ClientID in your web.config file.
Next, find the keys section. You need to create a private key to use as the password for your app. Select a key duration of one or two years and then click the save button at the bottom. When the page reloads it will show you your key value. Make sure to copy this now because it’s the only time it will ever be shown! If you don’t, you’ll need to recreate a key which isn’t a problem, but just annoying. Again, I’d recommend putting this in an app setting named ida:ClientSecret in your web.config file.
Microsoft Entra ID Authentication
The two steps of creating client IDs and keys/secrets, as well as copying the values to the web.config is done automatically by the VS 2013 Add Connected Service wizard that I showed in the last post.
OK, last step is to configure the permissions for your app. Scroll down to the bottom and you’ll find a permissions to other applications section. Here you can select an application & then using the delegated permissions dialog. This is what was being set when you were checking the permissions you wanted in the VS2013 Add Connected Service wizard that I showed in the last post.
And with that, poof! You now have your Microsoft Entra ID app!
The only thing that wasn’t set up for you was adding all the NuGet packages the Visual Studio 2013 Add Connected Service wizards adds for you. Because these are changing so quickly I’d recommend you not manually add these yourselves and rather, re-run through the wizard in your project after creating the app in Microsoft Entra ID. What’s cool is that when you start the wizard, it will detect the client ID in the web.config in the project and load all the settings from the app in to the wizard. When you click the Apply button in the wizard, it will ensure you have all the necessary NuGet packages installed which depend on the actual permissions you selected. This way, you don’t have to manually add the packages to your project… let the wizard do it.

Microsoft MVP, Full-Stack Developer & Chief Course Artisan - Voitanos LLC.
Andrew Connell is a full stack developer who focuses on Microsoft Azure & Microsoft 365. He’s a 20+ year recipient of Microsoft’s MVP award and has helped thousands of developers through the various courses he’s authored & taught. Whether it’s an introduction to the entire ecosystem, or a deep dive into a specific software, his resources, tools, and support help web developers become experts in the Microsoft 365 ecosystem, so they can become irreplaceable in their organization.
