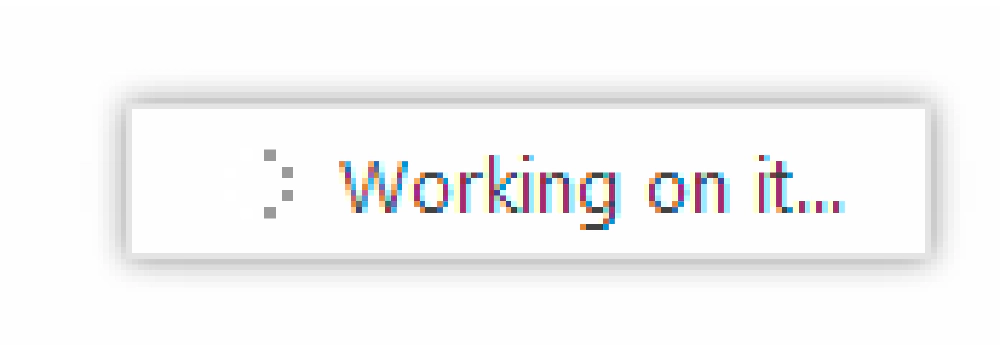
SharePoint includes a little notification system where you can implement your own custom notifications as transient messages, or those that will go away after a short period. You’re used to seeing this in the top-right corner:

Working on it...
You can make that show up using this little snippet of JavaScript:
var shouldNotDisappearAfterTimeout = false;
var obj = SP.UI.Notify.showLoadingNotification(shouldNotDisappearAfterTimeout);
What about creating your own message? Using this little snippet of JavaScript, you can create your own notification like this (the string you pass in can be HTML so it can include an animated GIF, like the first picture above):
var message = "hello";
var obj = SP.UI.Notify.addNotifcation(message);

Hello notification
If you ever want to manually remove the message, you can do it manually using this code:
SP.UI.Notify.removeNotification(obj);
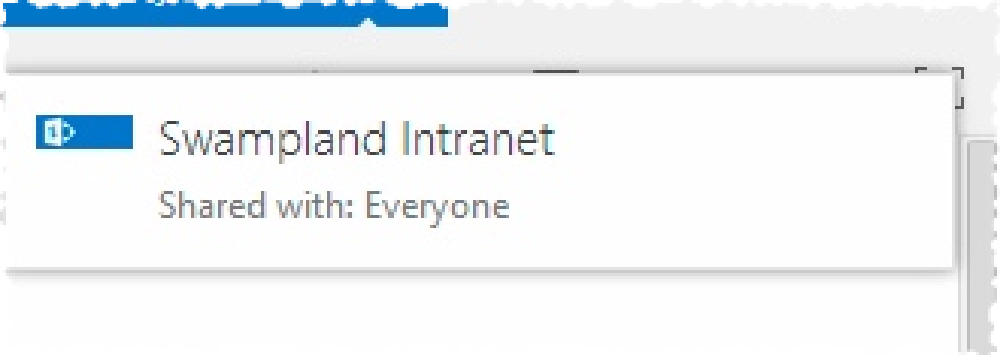
This is all fine and good, but the code for this has been documented in MSDN for a while now as it was introduced in SharePoint 2010. However in my most recent Pluralsight course, Building SharePoint Apps as Single Page Apps with AngularJS, I wanted something a bit nicer but I wanted to keep with the SharePoint UX. When I build custom apps that leverage SharePoint, I like to keep with the SharePoint UX as much as I can as this dramatically reduces a lot of end user training issues you run into. So like I was saying, I wanted something a bit more visible when work was happening in my app so I used a little notification system that you’ve likely seen in SharePoint before. When you share something in SharePoint with another user, you get something that looks like this:

Custom Notification
I got a few questions how I created the following similar notification for my course that I used when things were saved, updated or when there was an error:

Confirmation Notification
It wasn’t nearly as easy because I found the JavaScript wasn’t documented so I had to do a little reverse engineering. Here’s what the code looks like to create one of these animations:
function writeLog(message, data, showNotification, notificationType) {
  var iconUrl, notiTitle;
  showNotification = showNotification || true;

  if (showNotification) {
    if (notificationType === 'info') {
      iconUrl = "images/info.png";
      notiTitle = "Learning Path Manager: DEBUG LOG";
    } else if (notificationType === 'error') {
      iconUrl = "images/error.png";
      notiTitle = "Learning Path Manager: ERROR";
    } else if (notificationType === 'warning') {
      iconUrl = "images/warning.png";
      notiTitle = "Learning Path Manager: WARNING";
    } else if (notificationType === 'success') {
      iconUrl = "images/success.png";
      notiTitle = "Learning Path Manager";
    }

    // create sharepoint notification
    var notificationData = new SPStatusNotificationData("", STSHtmlEncode(message), iconUrl, null);
    var notification = new SPNotification(SPNotifications.ContainerID.Status, STSHtmlEncode(notiTitle), false, null, null, notificationData);

    // show sharepoint notification tile
    notification.Show(false);
  }
}
So this requires a little explanation. Everything boils down to the last few lines above where the notification is created and where it’s shown. I call the notification a ’tile’ because that’s what it looks like to me.
First, you’ll need to add references to two SharePoint JavaScript libraries in order to make this work. These are core.js and init.js.
The first thing we’re creating is something called a SPStatusNotificationData. This object is passed into the SPNotification constructor to create the notification. Both take a few arguments so let me explain them from my notes as so far, I haven’t seen these documented on MSDN:
SPStatusNotificationData(text, subText, imageUrl, sip)
text: This is the first line shown in the tile. I never had a use for this so always left this blank.
subText: This is the actual message I wanted to display.
imageUrl: This is the relative URL of an image to display in the tile.
sip: If you want to use presence indicators, this is the SIP address of the user that you want to display the indicator for. In my case I didn’t care to use it as I used the tile more for a notification and not for a specific user.
SPNotification(containerId, message, isSticky, tooltip, onClickCallback, extraData)
containerId: The container where this notification should appear. For me I wanted to always put it in the location where status messages are displayed so I used the provided
SPNotifications.ContainerID.Statusreference.message: This is the HTML encoded string you want to include as the message. SharePoint does include a nice little utility for encoding the message called
STSHtmlEncode().isSticky: This is a Boolean flag indicating if the message should remain there until you manually remove it, or if it should go away after a few seconds.
onClickCallback: Do you want to do something when they click on the tile? If so, you can implement a callback here that will be called when they click on it.
extraData: This is where you pass in the object you created that includes the notification data using the
SPStatusNotificationDataobject.
And that’s it! All you have to do to show it is to call the Show() method on the notification you created, passing in a Boolean value to tell SharePoint if you want animate the show/hide of the notification (FALSE) or if you want it to just appear and disappear (TRUE). Yes, seems a bit backwards, but the variable that Show() accepts could be something like shouldAppear.
Cool… now we have documented this little notification!

Microsoft MVP, Full-Stack Developer & Chief Course Artisan - Voitanos LLC.
Andrew Connell is a full stack developer who focuses on Microsoft Azure & Microsoft 365. He’s a 20+ year recipient of Microsoft’s MVP award and has helped thousands of developers through the various courses he’s authored & taught. Whether it’s an introduction to the entire ecosystem, or a deep dive into a specific software, his resources, tools, and support help web developers become experts in the Microsoft 365 ecosystem, so they can become irreplaceable in their organization.


